

Imagine you’re going through a vegan cafeteria line at a school or a hospital. You’ve got your strangely warm plastic tray gliding along the metal track as you go by each station. You’ve made responsible choices like a salad and a vegetable and tofu stir fry. You do the mental math and you clearly have some calories to burn. You’ve been so good that you deserve a treat. The desserts all look inviting even though they have been smashed down in tight plastic wrap. You could get a cafeteria classic like a chocolate pudding in one of those parfait glasses but then your eyes see something too tempting to pass up. You reach up an gleefully add the slice of cassata cake to your tray. It’s the best damn decision of your life.
Cassata cake is amazing and rarely have I seen a vegan version anyplace. This cake has a lot of steps but the end result is well worth the effort. Make it for a special occasion and solidify your place among your family or social circle as the one for whom they will all take a bullet. (What are loved ones if not human shields?)
Makes one 8” round double layer cake
Ingredients:
Pastry Cream:
4 oz silken tofu
1/4 cup corn starch
1/4 cup water
1 Tbsp egg replacer (Ener-G or Bob’s Red Mill work well)
1 1/2 cup soy milk (or other non-dairy milk)
1/4 cup sugar
1 Tbsp vanilla paste (or extract)
2 Tbsp margarine
Cake:
10.5 oz of flour (2 cups plus about 2 Tbsp)
10 oz sugar (1 1/4 cup)
1 tsp of baking powder
1/2 tsp baking soda
1/2 tsp salt
3 Tbsp aquafaba*
1/8 tsp cream of tartar
1 cup soy milk
1/2 cup oil
1/4 cup water
1 Tbsp vanilla
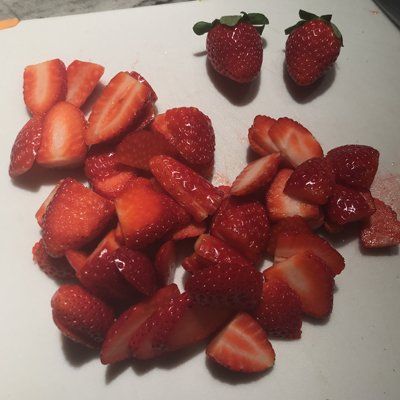
12 oz fresh strawberries
Frosting:
1 cup vegetable shortening (Earth Balance or Crisco work well)
13.5 oz powdered sugar (3 cups)
3 Tbsp soy milk (or other non-dairy milk)
1 Tbsp vanilla extract
Directions:
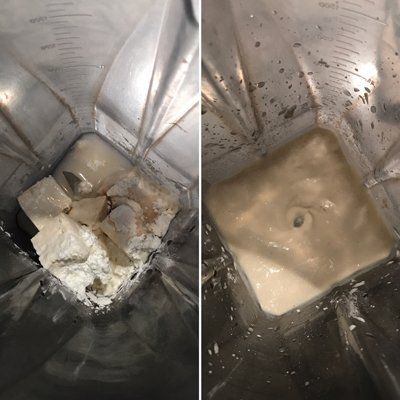
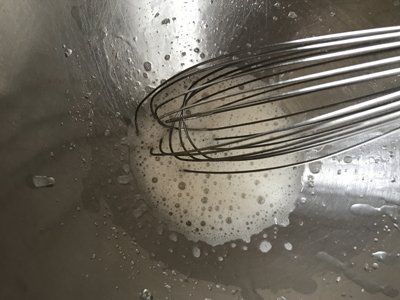
First make the pastry cream by adding the tofu, corn starch, water and egg replacer in a blender and blend until smooth.
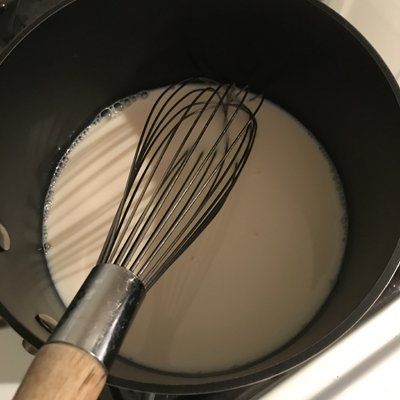
In a medium saucepan, combine the soy milk and sugar and heat over low heat until the sugar dissolves.
Add in the contents of the blender to the milk and whisk constantly over medium heat until the pastry cream starts to thicken. This will take a couple of minutes.
Finally, add in the margarine and vanilla and stir until the margarine has been melted. Pour the pastry cream into a bowl and cover with plastic wrap or a plate and set in the refrigerator to cool and set. (Note that I make this a bit thicker than you normally would for most pastry creams because I like to make sure things aren’t oozing out of the cake once it’s assembled.)
While the pastry cream is cooling, prepare the cake.
Preheat the oven to 350F degrees.
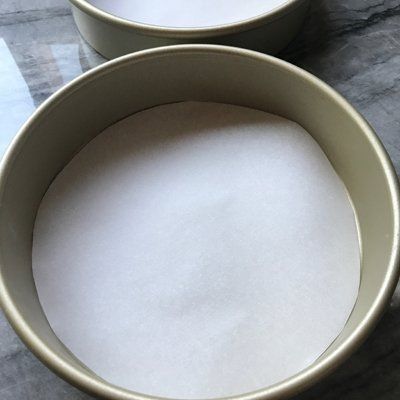
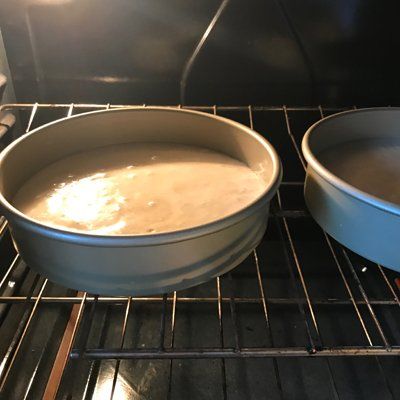
Line the bottom of two 8” cake pans with parchment paper. (Don’t grease the sides of the pan as this will cause the sides of the cake to not cook properly.)
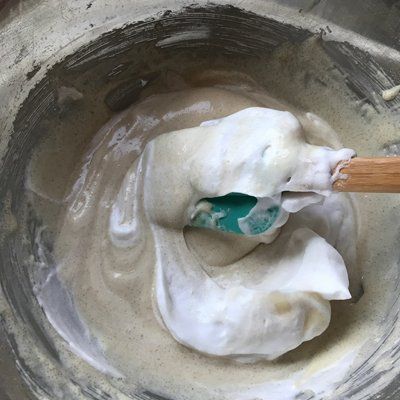
In the bowl of a stand mixer, add the aquafaba and cream of tartar. With a hand whisk, beat the aquafaba for about 15-30 seconds by hand to get it started (this helps the machine since there is such a small amount in the bowl). With the whip attachment on the mixer, beat the aquafaba to stiff peaks (this will take about 7 minutes). If you don’t have a stand mixer feel free to get your exercise and whip it by hand or if you have an electric hand mixer this will will work well too. (note: Since this isn't a large volume of aquafaba, you may find that your mixer has a tough time getting it started. You may need to hand whisk it a bit more to get the volume up enough for the stand mixer's whip attachment to make good contact.)
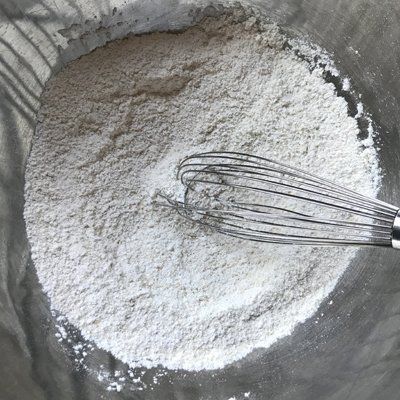
While the aquafaba is beating, combine the flour, sugar, baking powder, baking soda and salt in a large bowl and combine with a whisk.
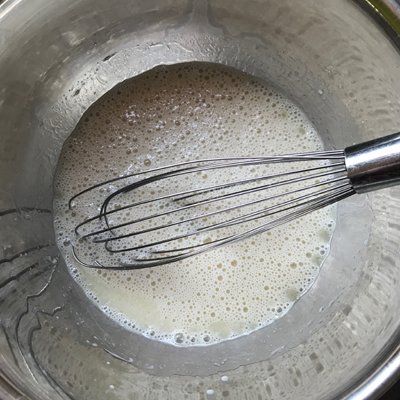
In a medium bowl, combine the soy milk, oil, water and vanilla and whisk to combine.
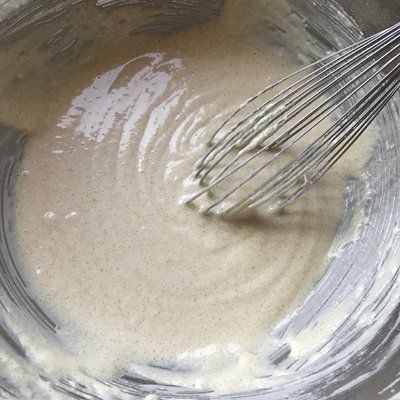
Add the wet ingredients to the dry and whisk by hand until smooth. You don’t want any lumps of flour.
Add the whipped aquafaba to the batter and with a spatula, gently fold the aquafaba into the batter. Be gentle in this step since you want to maintain as much of the air from the aquafaba as possible. Fold and gently stir until you no longer see any white streaks.
Pour the batter into the prepared pans evenly and bake at 350F degrees for 25 minutes or until a toothpick inserted in the middle comes out clean.
Before you remove the cakes from the pans run a knife along the edge to make sure it will release from the pan easily. Remove the cakes from the pans and allow them to cool completely on a cooling rack.
While the cakes are cooling, make the frosting and prepare the strawberries.
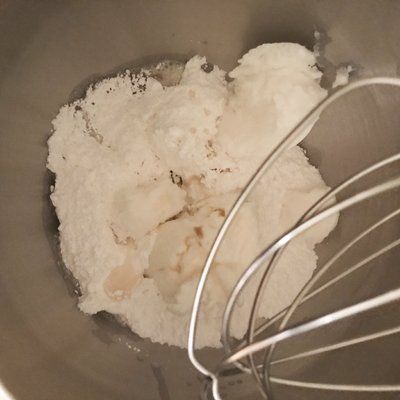
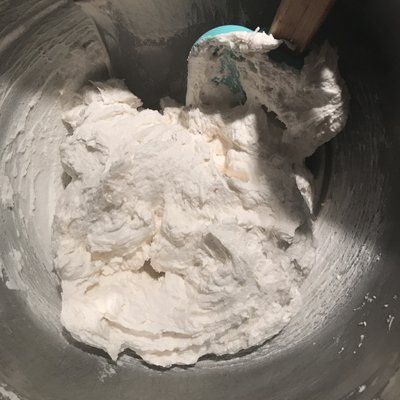
In a stand mixer, combine the powdered sugar, shortening, soy milk and vanilla. With the whip attachment, start to beat the frosting on low and then slowly increase the speed to high. Scrape down the sides and bottom as needed to make sure everything is getting evenly combined. Whip the frosting until it is light and airy (about 5 - 7 minutes).
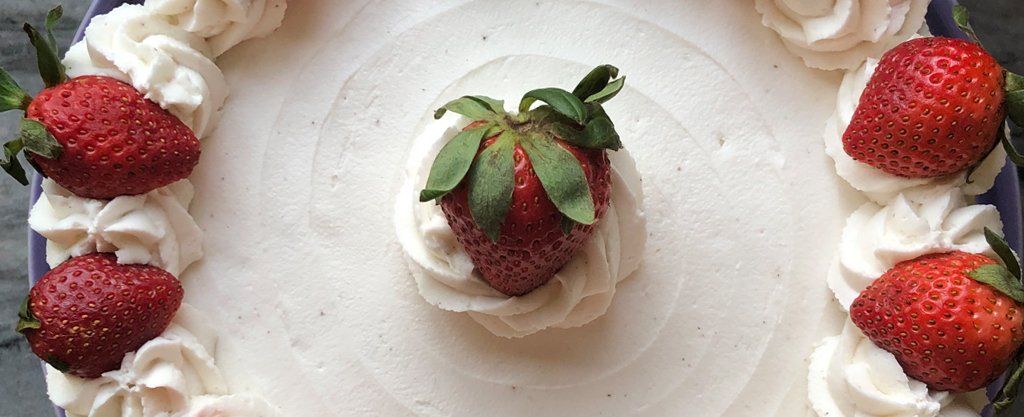
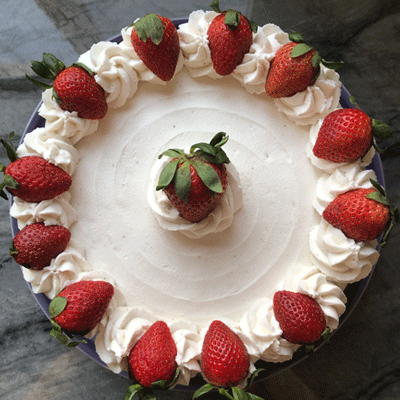
It’s hard to say exactly how many strawberries you will need. I usually use about 12 ounces for my cake which includes the ones in the middle layer as well as some for decorating the top. Rinse and dry the berries. Set a few aside for use in decorating the top of the cake. Trim the tops off all of the remaining berries then slice them into roughly 1/4 inch slices and set aside as you get ready to assemble the cake.
In a pastry bag fitted with a large star tip, place about 1/4 of the frosting and set aside.
Remove the pastry cream from the fridge and stir it a bit to make it creamier. I place mine in a second pastry bag not fitted with a tip. I find works well when it comes time to distribute the cream on the cake but you can also easily just spoon it on when the time comes during assembling.
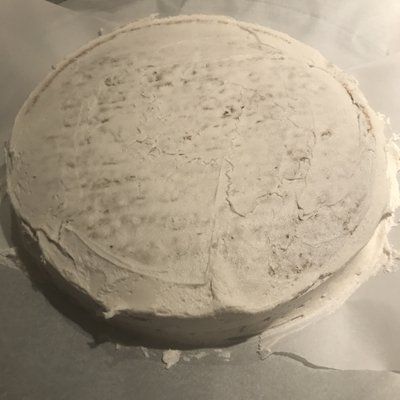
Once the cakes are cool you can finally assemble the layers. Place one of the cakes on a cake stand or plate. (I usually place 4 pieces of wax paper or parchment paper under the edges of the cake so that the plate stays clean as I frost it.) Spread the frosting around the outside of the cake and then put a very thin layer of frosting on the top of the cake. (This thin layer will help keep the bottom layer of cake from getting soggy.)
Next take the pastry bag with the frosting and pipe a wall of frosting around the outside. Repeat another layer of piped frosting onto of the first one.
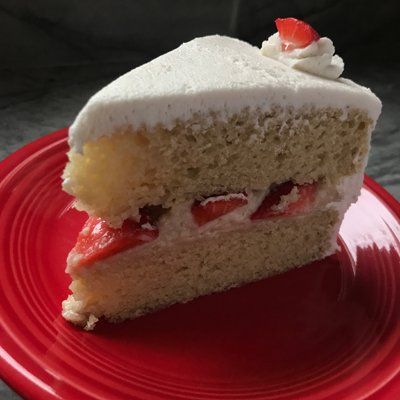
Now cover the cake with a layer of sliced strawberries. Then cover this layer of strawberries with a layer of pastry cream. Next lay down a layer of sliced strawberries on top of the pastry cream. (Depending on the thickness, you may need to pipe a third ring of frosting along the outside again. This wall helps keep the pastry cream from oozing out the sides.)
Gently set the second layer of cake onto the top and coat the top and sides with the remaining frosting.
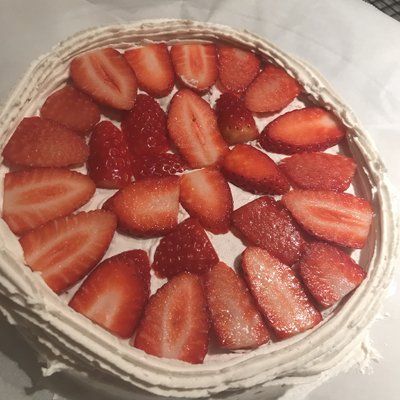
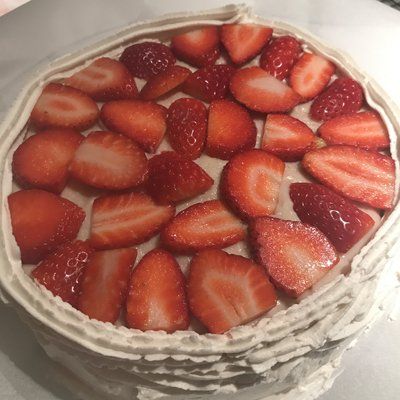
Use the remaining strawberries to decorate the top of the cake how ever you’d like.
*Never used aquafaba? Click here for a great intro.
Nutritional information: Per serving 586 cal., 29.5g fat, 5g protein


View more